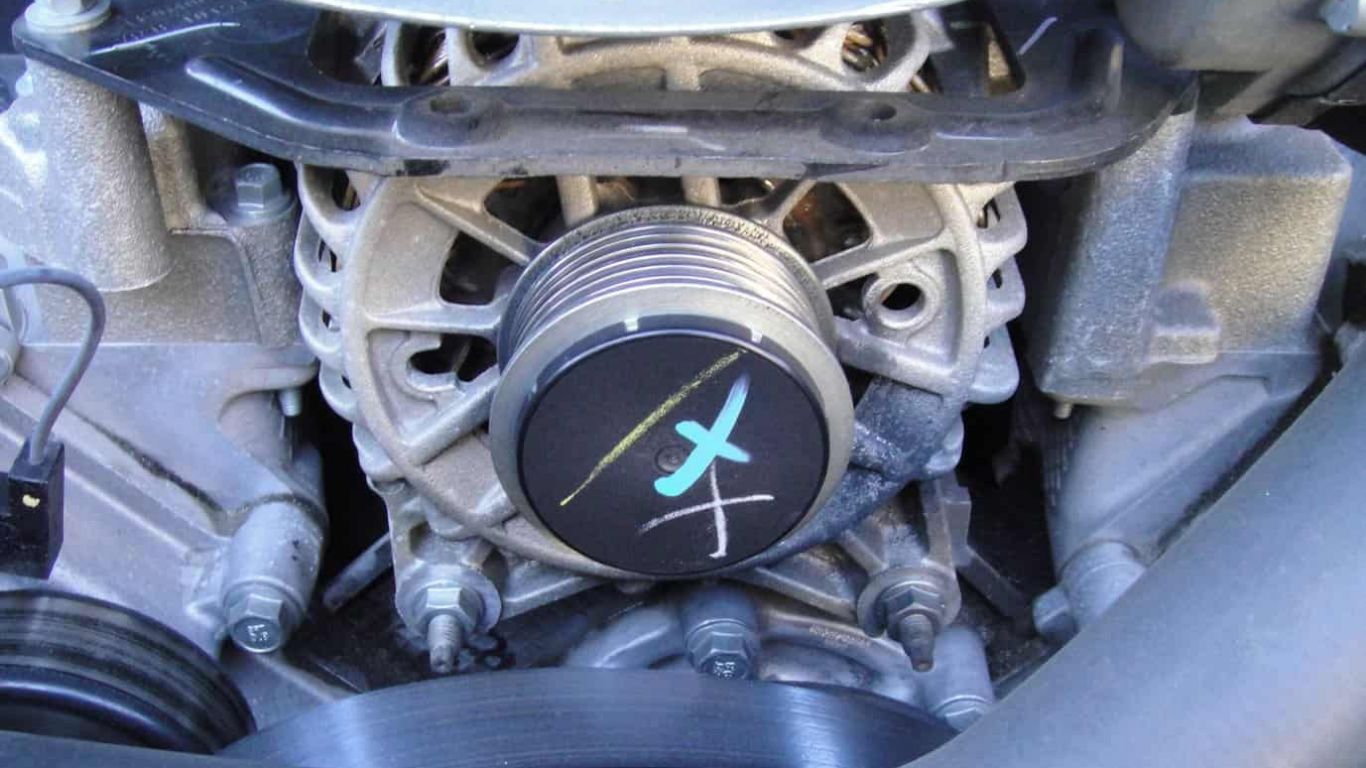
When your vehicle’s alternator fails to charge, it can lead to frustrating breakdowns and costly repairs. The alternator plays a crucial role in maintaining the electrical system, ensuring that the battery remains charged and your vehicle’s electrical components function properly. In this article, we’ll explore what an alternator is, the signs of a malfunctioning alternator, common causes, and the steps to repair it. Let’s dive in and learn how to resolve this issue and keep your vehicle running smoothly.
What is an Alternator?
Before we delve into troubleshooting and repairs, it’s essential to understand the alternator’s function. An alternator is a critical component of your vehicle’s charging system. It generates electrical power to recharge the battery and power various electrical components, such as lights, radio, and air conditioning. When it fails, you may experience issues like dimming lights and trouble starting your vehicle.

Signs of a Malfunctioning Alternator
Identifying a malfunctioning alternator is crucial. Some common signs include:
- Dimming headlights and interior lights
- Warning lights on the dashboard, such as the battery or ALT light
- Difficulty starting the engine
- Strange noises, such as whining or grinding
- Battery issues, like frequent replacements
Causes of Alternator Not Charging
Understanding the causes of alternator issues is essential for effective repairs. Some common causes include:
- Worn-out drive belt
- Faulty voltage regulator
- Damaged diode
- Wiring problems
- Excessive electrical load
Checking the Battery
Before assuming your alternator is the issue, start by checking the battery. A weak or dead battery can mimic alternator problems. Ensure that the battery terminals are clean and securely connected. Use a multimeter to measure the battery’s voltage. If it’s below 12.4 volts, it may need charging or replacement.
Inspecting the Drive Belt
A worn or loose drive belt can lead to alternator problems. Examine the belt for cracks, fraying, or looseness. If any issues are detected, replace the belt promptly. A well-maintained belt ensures the alternator functions correctly.
Testing the Alternator Output
To determine if the alternator is the problem, test its output voltage. Connect a voltmeter to the battery terminals and start the engine. The voltage should increase from the battery’s resting voltage to around 13-14 volts. If the voltage doesn’t rise, the alternator may be faulty.
Replacing the Alternator
If you’ve confirmed that the alternator is the issue, it’s time for a replacement. Ensure you select the correct alternator for your vehicle’s make and model. Follow the manufacturer’s instructions or seek professional help if needed.
DIY Alternator Repair Steps
If you’re a DIY enthusiast, you can attempt to repair the alternator yourself. Common DIY repair steps include:
- Replacing the voltage regulator
- Replacing the diodes
- Cleaning and testing the alternator components
- Replacing the brushes
Remember, these repairs require some technical knowledge, so only proceed if you’re comfortable with the task.
Safety Precautions
Working on your vehicle’s electrical system can be dangerous. Always take necessary safety precautions, such as disconnecting the battery and using insulated tools. If you’re unsure of your abilities, consult a professional mechanic.
Conclusion
A malfunctioning alternator can lead to various vehicle problems and leave you stranded on the road. By understanding the signs, causes, and repair steps, you can save both time and money. Regular vehicle maintenance and prompt alternator repairs will keep your vehicle running smoothly, ensuring you’re never left in the dark.
